Email Blacklist
Manage your Email Blacklist
The Email Blacklist is a global setting on your account that excludes specified records from all email communications regardless of their Email Permit, including Service Messages. You can manage your Email Blacklist using the Blacklist tool in Admin Ops. This tool allows you to check, add and remove email addresses on your Email Blacklist either individually or in-bulk via .csv upload.
Setup
Before you startIn order to access the Email Blacklist item in Admin Ops, you must have the following permission/role enabled:
Admin Ops External User. Please contact your Customer Success Manager, or contact Support directly at [email protected] to request access to this permission.
Check Email Blacklist
You can query whether a record already exists on the Email Blacklist by entering their email address and pressing "Check". This is a common cause for customer queries relating to why they didn't receive a specific email. If the email does exist on the Email Blacklist Table, then they will receive no email communications whatsoever until they have been removed from the Email Blacklist. If the email exists, then you will see the following message:
If you press "Check" with an empty Email field instead, then you will see a count of the total number of records that exist on your Email Blacklist. Next, you can add or remove records from your Email Blacklist.
WarningIf you wish to add or remove a record from the Email Blacklist, you will need to acknowledge the confirmation statement shown below each time, explaining the risks associated with blacklist management. For instance, improper use of the Email Blacklist could result in non-compliance with privacy regulations and damage to your sender reputation. Blacklist changes are made at your own risk.

Add To Email Blacklist
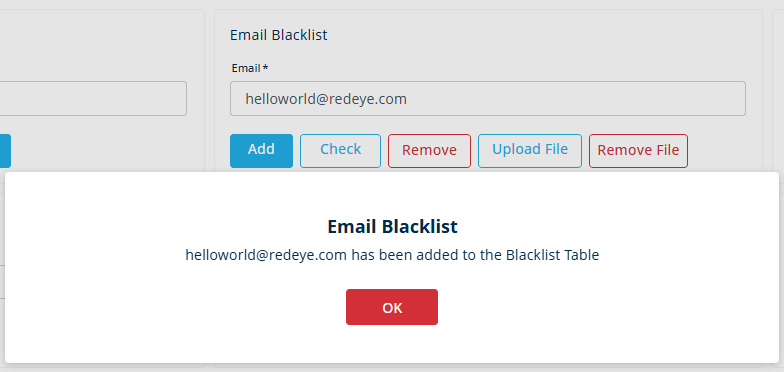
To add new record(s) to your Email Blacklist, you can either input the single Email Address and press "Add", or load multiple records at once using a .csv file upload. The .csv should contain 1 header and 1 row only, titled "EMAIL". Upload limits are bound by the usual limitations on .csv file uploads. If your database is keyed on a different primary identifier such as CUSTREFID, you will need to load the email address(es) associated to the Customer Reference ID.
Once you acknowledge the disclaimer and submit your entry, the platform will confirm that the user has been added to the Email Blacklist. If the upload fails for any reason such as invalid headers, the platform will provide this reason.

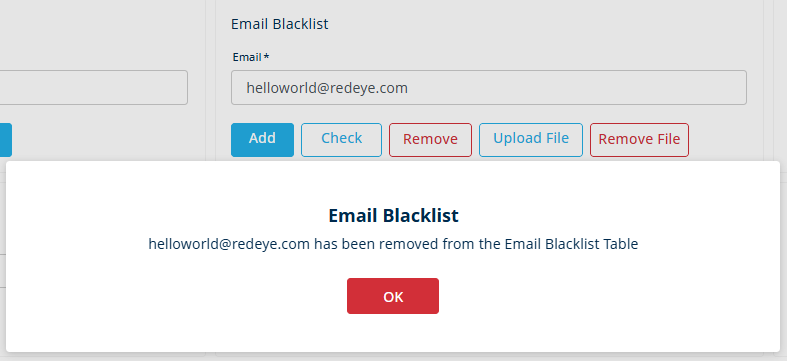
Remove From Email Blacklist
You can remove records from the Email Blacklist in the same way, either individually or in-bulk. Removing records inadvertently from the Email Blacklist carries risks to your sender score, IP reputation and customer experience, so please ensure that any changes are suitably considered before actioning.
Blacklist Audit TrailAll changes to the Email Blacklist, including the user name responsible, date and time stamps are stored internally at RedEye and can be retrieved through a Support request. For any queries relating to the Email Blacklist, please speak to your Customer Success Manager.
Updated 10 months ago